Transform a Cheap 3D Printer into a High End Machine with Klipper
I love the endless creative posiblities of 3D Printing but the most prohibitive part of the hobby is the cost. Sure, you can get affordable 3D printers but they lack many desirable features of the higher end models.
This is where the fantastic open source software Klipper comes into the picture. I learnt about Klipper from a colleague who has been 3D Printing for a long time, this nifty piece of software and firmware can transform your printer with features such as printing over wi-fi, finer control of configuration and increased print speeds.
Klipper is a modern 3D-printer firmware that moves complex motion calculations from the printer’s control board to a more powerful host computer (such as a Raspberry Pi or PC). The result is faster printing, improved quality, and advanced features that are difficult to achieve with traditional firmware that printers ship with like Marlin.
The printer I will be transforming is the Creality Ender-3 V3 SE. This is an extremely affordable printer designed for tinkerers as many of its parts can be upgraded.
If you are planning to install Klipper on an Ender-3 V3 SE yourself, I recommend following the same comprehensive guide that I did: Athemis Guide
Below, I will go through the steps I took when installing Klipper on my printer.
⚠️ Please Note: This information may be outdated at the time of reading.
What You’ll Need
Hardware
- Creality Ender-3 V3 SE (or another compaitable printer)
- Raspberry Pi 3, 4, or Zero 2 W recommended (I used a Zero 2 W)
- microSD card for the Klipper software
- Micro-USB to USB-C cable (if using the Zero 2 W)
- SD card (this likely came with your 3D printer)
Software
- Klipper
- Moonraker
- Web interface (Mainsail or Fluidd)
- SSH access to the host device
Step 1: Prepare the Host System
Install the Operating System
- Flash Raspberry Pi OS Lite (64-bit) using Raspberry Pi Imager
- Enable SSH during flashing or via
raspi-config
Install Klipper, Moonraker, and Web UI
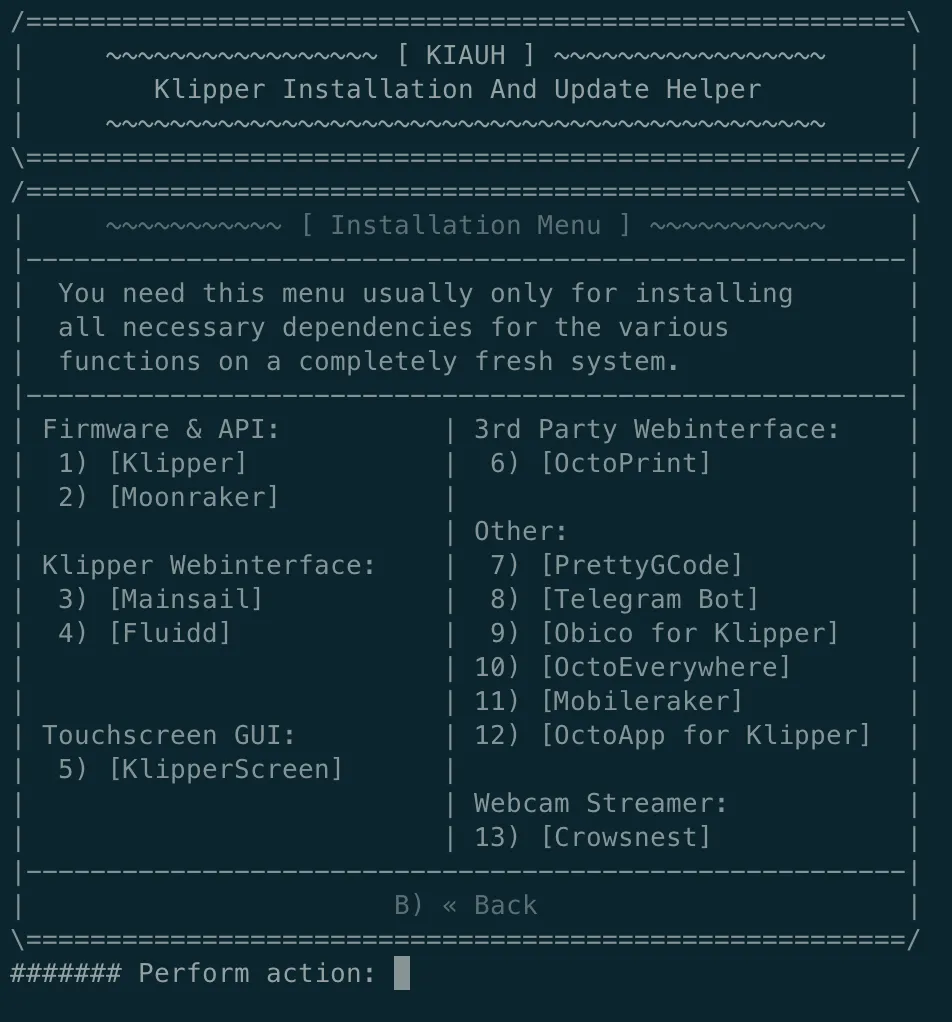
The easiest method is KIAUH (Klipper Installation And Update Helper).
sudo apt update && sudo apt install git -y
git clone https://github.com/dw-0/kiauh.git
cd kiauh
./kiauh.sh
From the menu, install:
- Klipper
- Moonraker
- Mainsail or Fluidd (I installed Mainsail but Fluidd is also a popular choice)
Once complete, reboot the Raspberry Pi.
Step 2: Identify the Ender-3 V3 SE Control Board
You likely don’t have the exact same printer as I do, please do some research regarding your specific printer model for this next part. I am going to outline the steps I took with the Ender-3 V3 SE to flash the Klipper firmware to the printer.
The Ender-3 V3 SE ships with a Creality 32-bit board. Board revisions may vary, commonly using an STM32 MCU.
How to Confirm
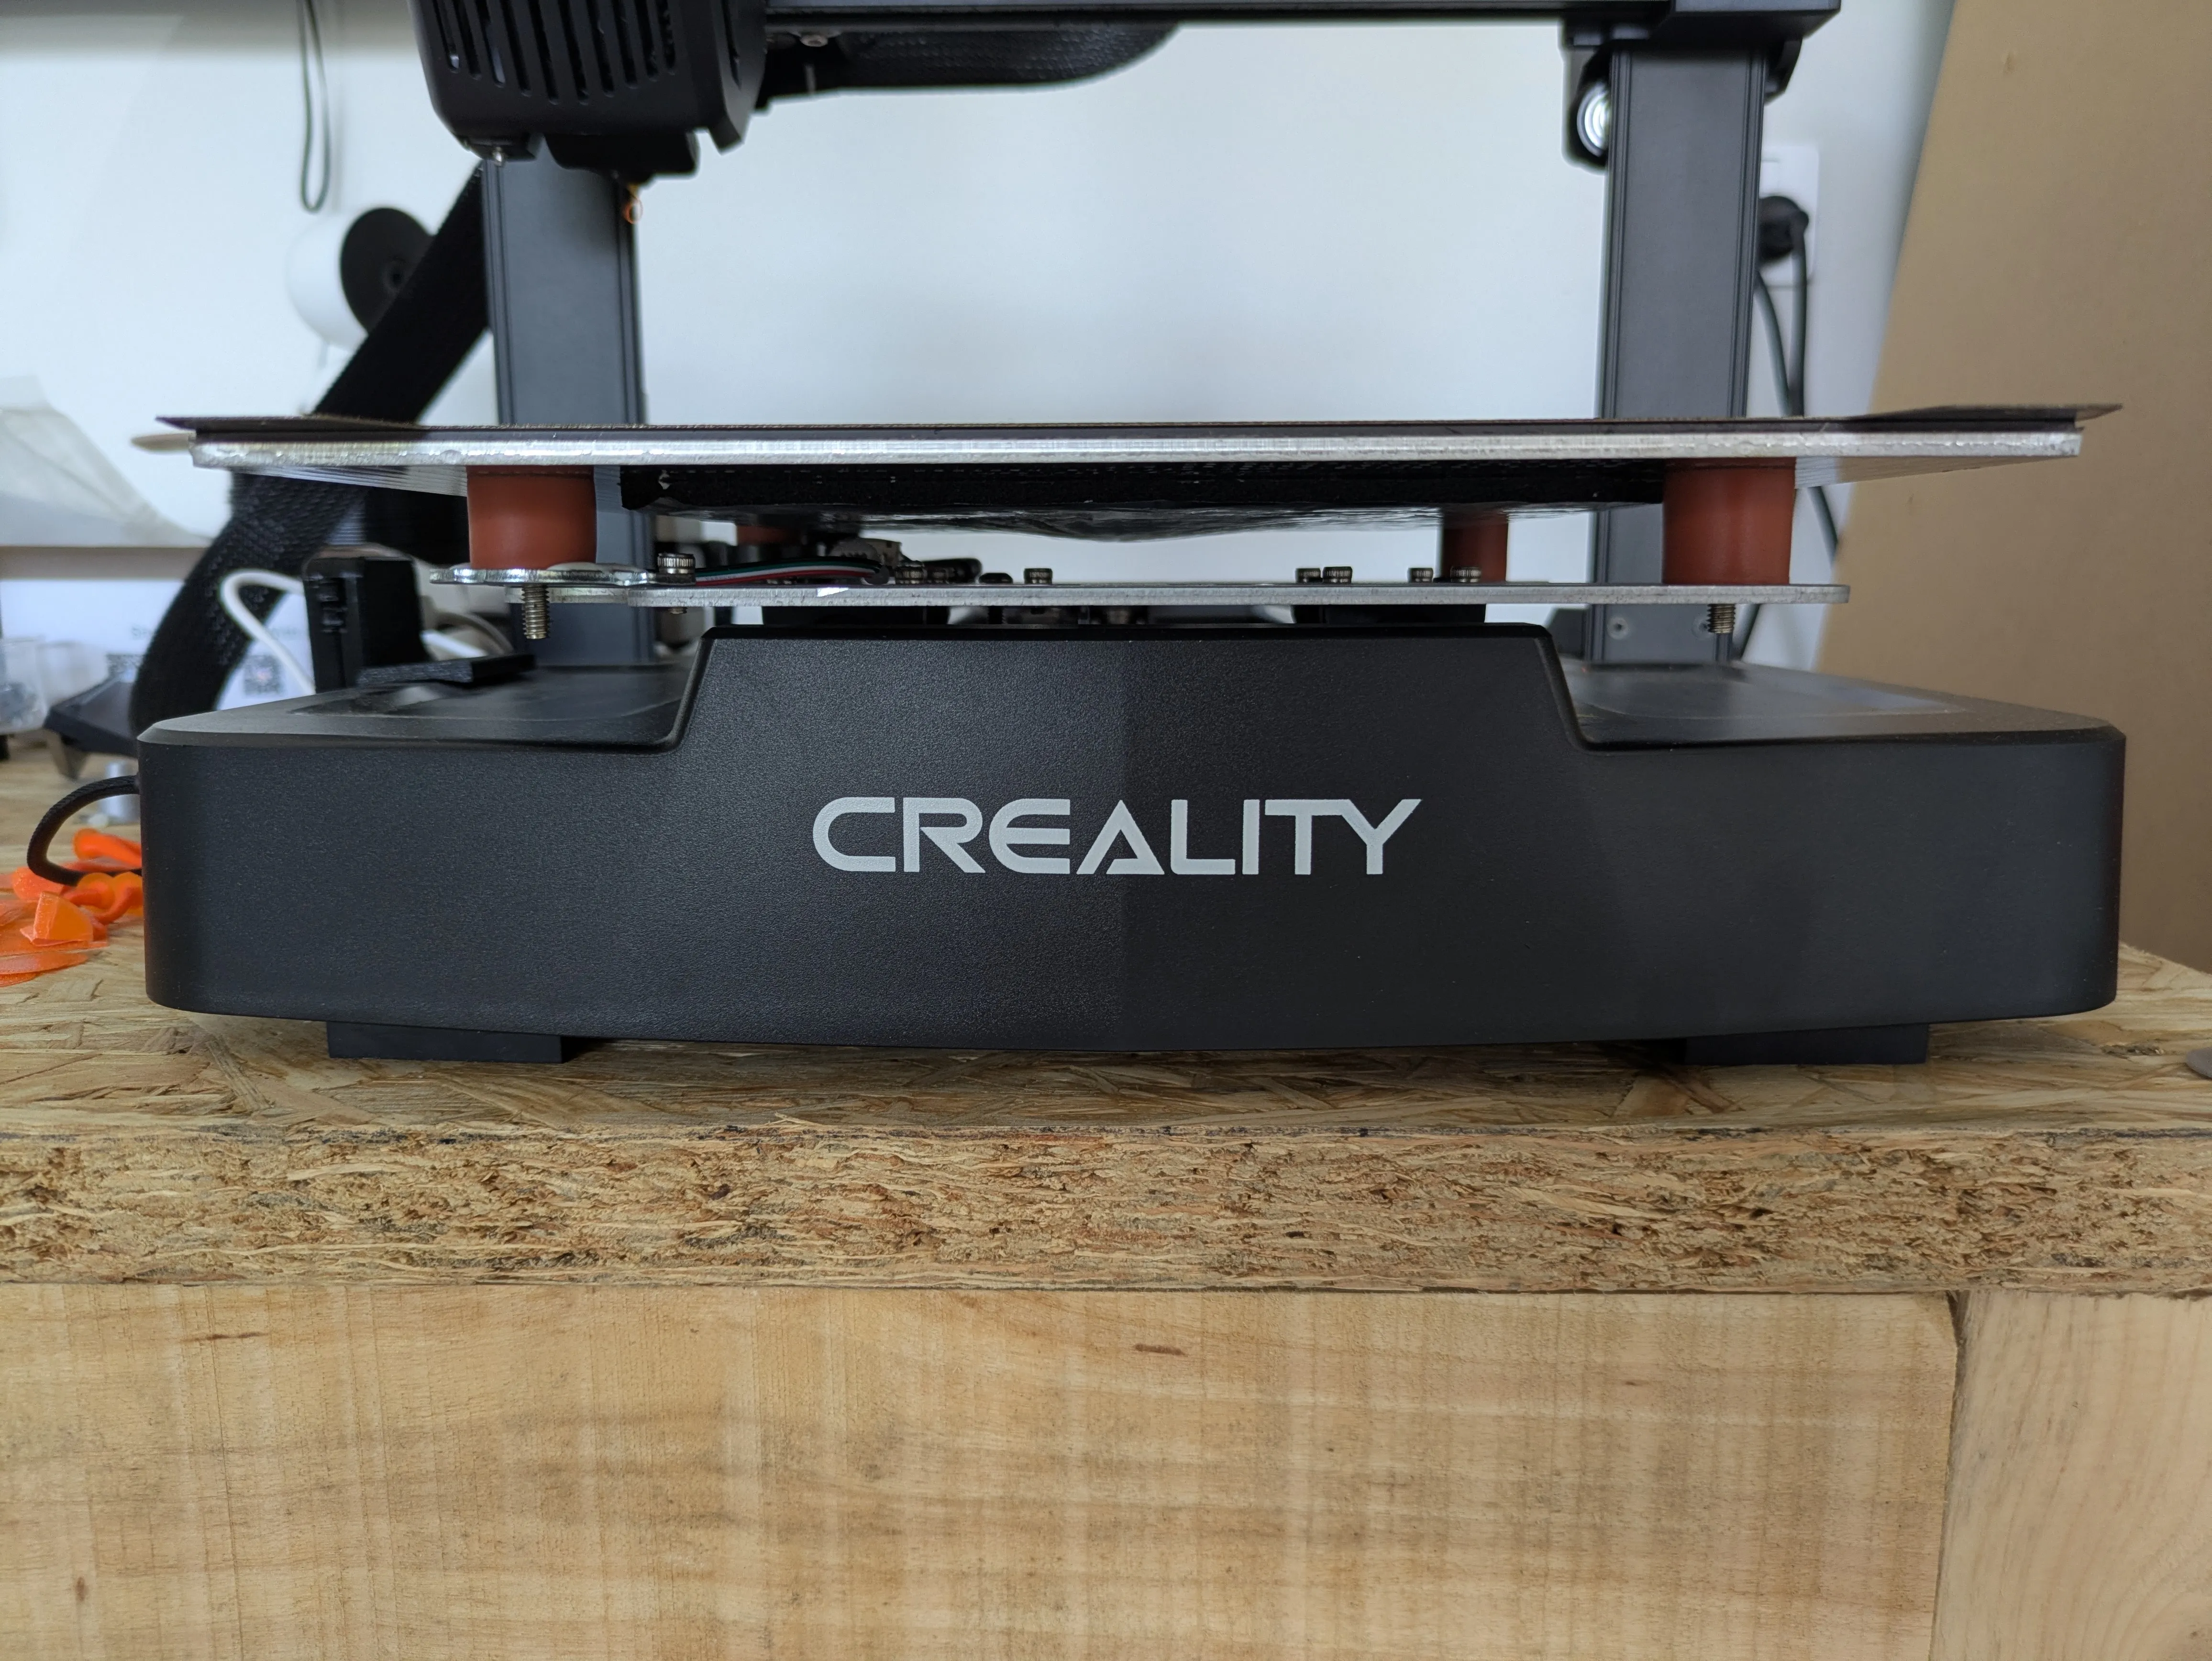
- Remove the bottom cover of the printer
- Look for the MCU model printed on the chip (for example:
STM32F103orSTM32F401) - Note the USB connection type (typically USB)
This information is required to compile the correct Klipper firmware.
Step 3: Build the Klipper Firmware
From the host:
cd ~/klipper
make menuconfig
Use these typical settings (adjust if your board differs):
- Micro-controller Architecture: STM32
- Processor Model: (match your board, e.g., STM32F103 or STM32F401)
- Bootloader Offset: 28KiB (common for Creality boards)
- Communication Interface: USB
Save and exit, then compile:
make
The firmware file will be created at:
~/klipper/out/klipper.bin
Step 4: Flash Klipper to the Printer
- Transfer the
klipper.binfile to your printer’s SD card - Turn off the printer
- Insert SD card
- Turn on the printer and wait 15 seconds
- Turn off the printer
- Take the SD card out and remove the .bin file
- Insert the empty SD card into the printer
- Turn on the printer (the screen should be a blue screensaver image)
- Connect your Raspberry Pi to the printer via USB cable
- Navigate to your Fluidd or Mainsail web interface from your PC
If flashing is successful, the screen will remain blank or show no UI — this is normal with Klipper.
Step 5: Connect Klipper to the Printer
Find the printer’s USB ID:
ls /dev/serial/by-id/
Copy the full device path (you’ll need it for the config).
Step 6: Create the printer.cfg
The printer requires a printer.cfg file to operate, this text file is basically a list of instructions for the printer. This config file will be different for each printer model so search online for a basic config file for your printers.
The config file I used as a base is found here
Step 7: Calibration and First Print
You should be able to access the web ui of your Printer here: http://[hostname-of-your-pi].local
The following callibrations can be done via the web ui.
Required Calibrations
There are a few important adjustments we need to make before running our first print.
Probe Z Offset The common method for setting the Z Offset is to put a piece of paper under the nozzle and setting the Z axis to 0. The paper should still move but have some drag on it as you pull it out.
- If the paper can be moved freely then the Z offset needs to be lowered.
- If the paper does not move at all then the Z offset needs to be raised.
Once the Z Offset is right, you can save the config which will save the Z Offset to the printer.cfg file.
You only need to configure the Z Offset again when changing nozzle or bed.
PID tuning (hotend and bed) The Mainsail web ui will have macro options to configure the hotend and bed tempratures to ensure they keep a stable temprature during printing.
Bed mesh leveling Running a manual bed mesh leveling will allow you to see a visual represnetation of the high and low spots of your printer bed.
My printer had some serious bed leveling issues which required me to readjust the Z Gantry as it was not straight, after this I purchased some rubber bushings as the stock ones could not be adjusted.
I was able to get the printer from an initial 2mm offset down to 0.1mm offset. (This resolved a lot of the printing issues I had prior to Klipper)
Step 8: Start Printing
Personally, I used Orca Slicer for printing with a Klipper enabled printer. The software has a lot of customisation options and takes a bit of getting used to but you can send prints directly to the printer and even monitor the status of the print right from Orca Slicer.
Benefits You’ll Notice Immediately
- Smoother motion and cleaner surfaces
- Faster print speeds without quality loss
- Web-based control and monitoring
- Advanced tuning and automation
Additional Improvements
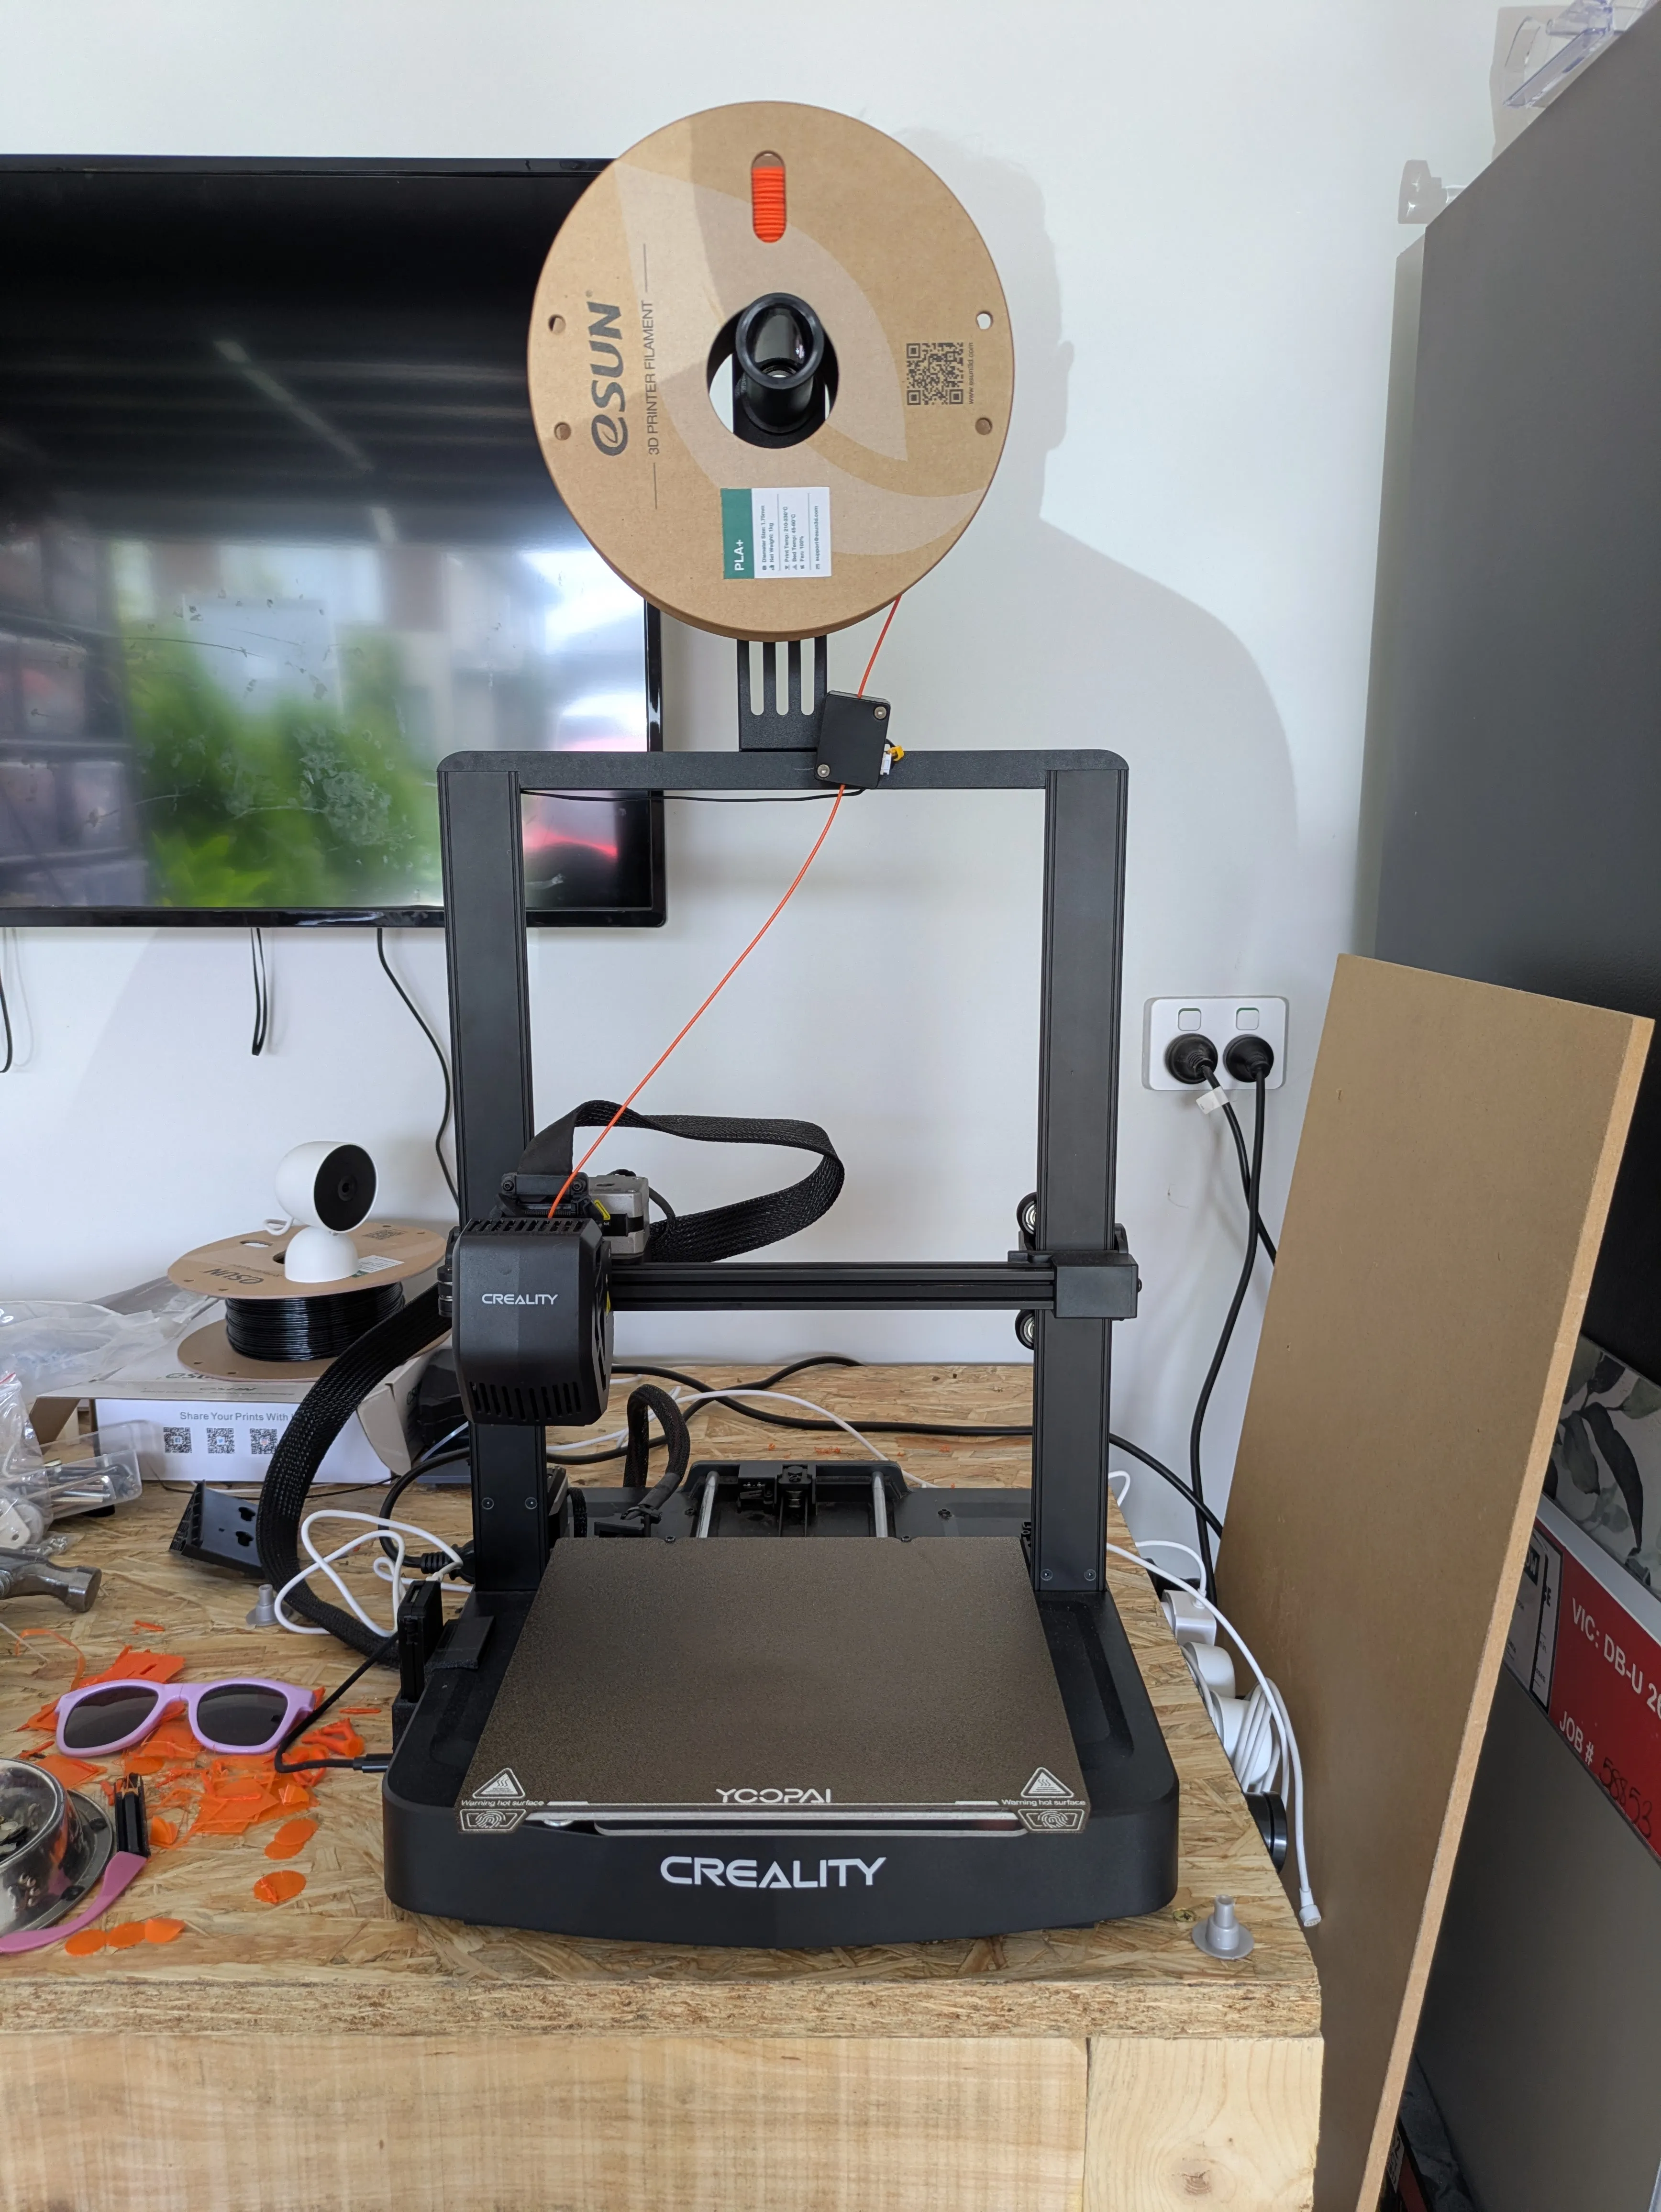
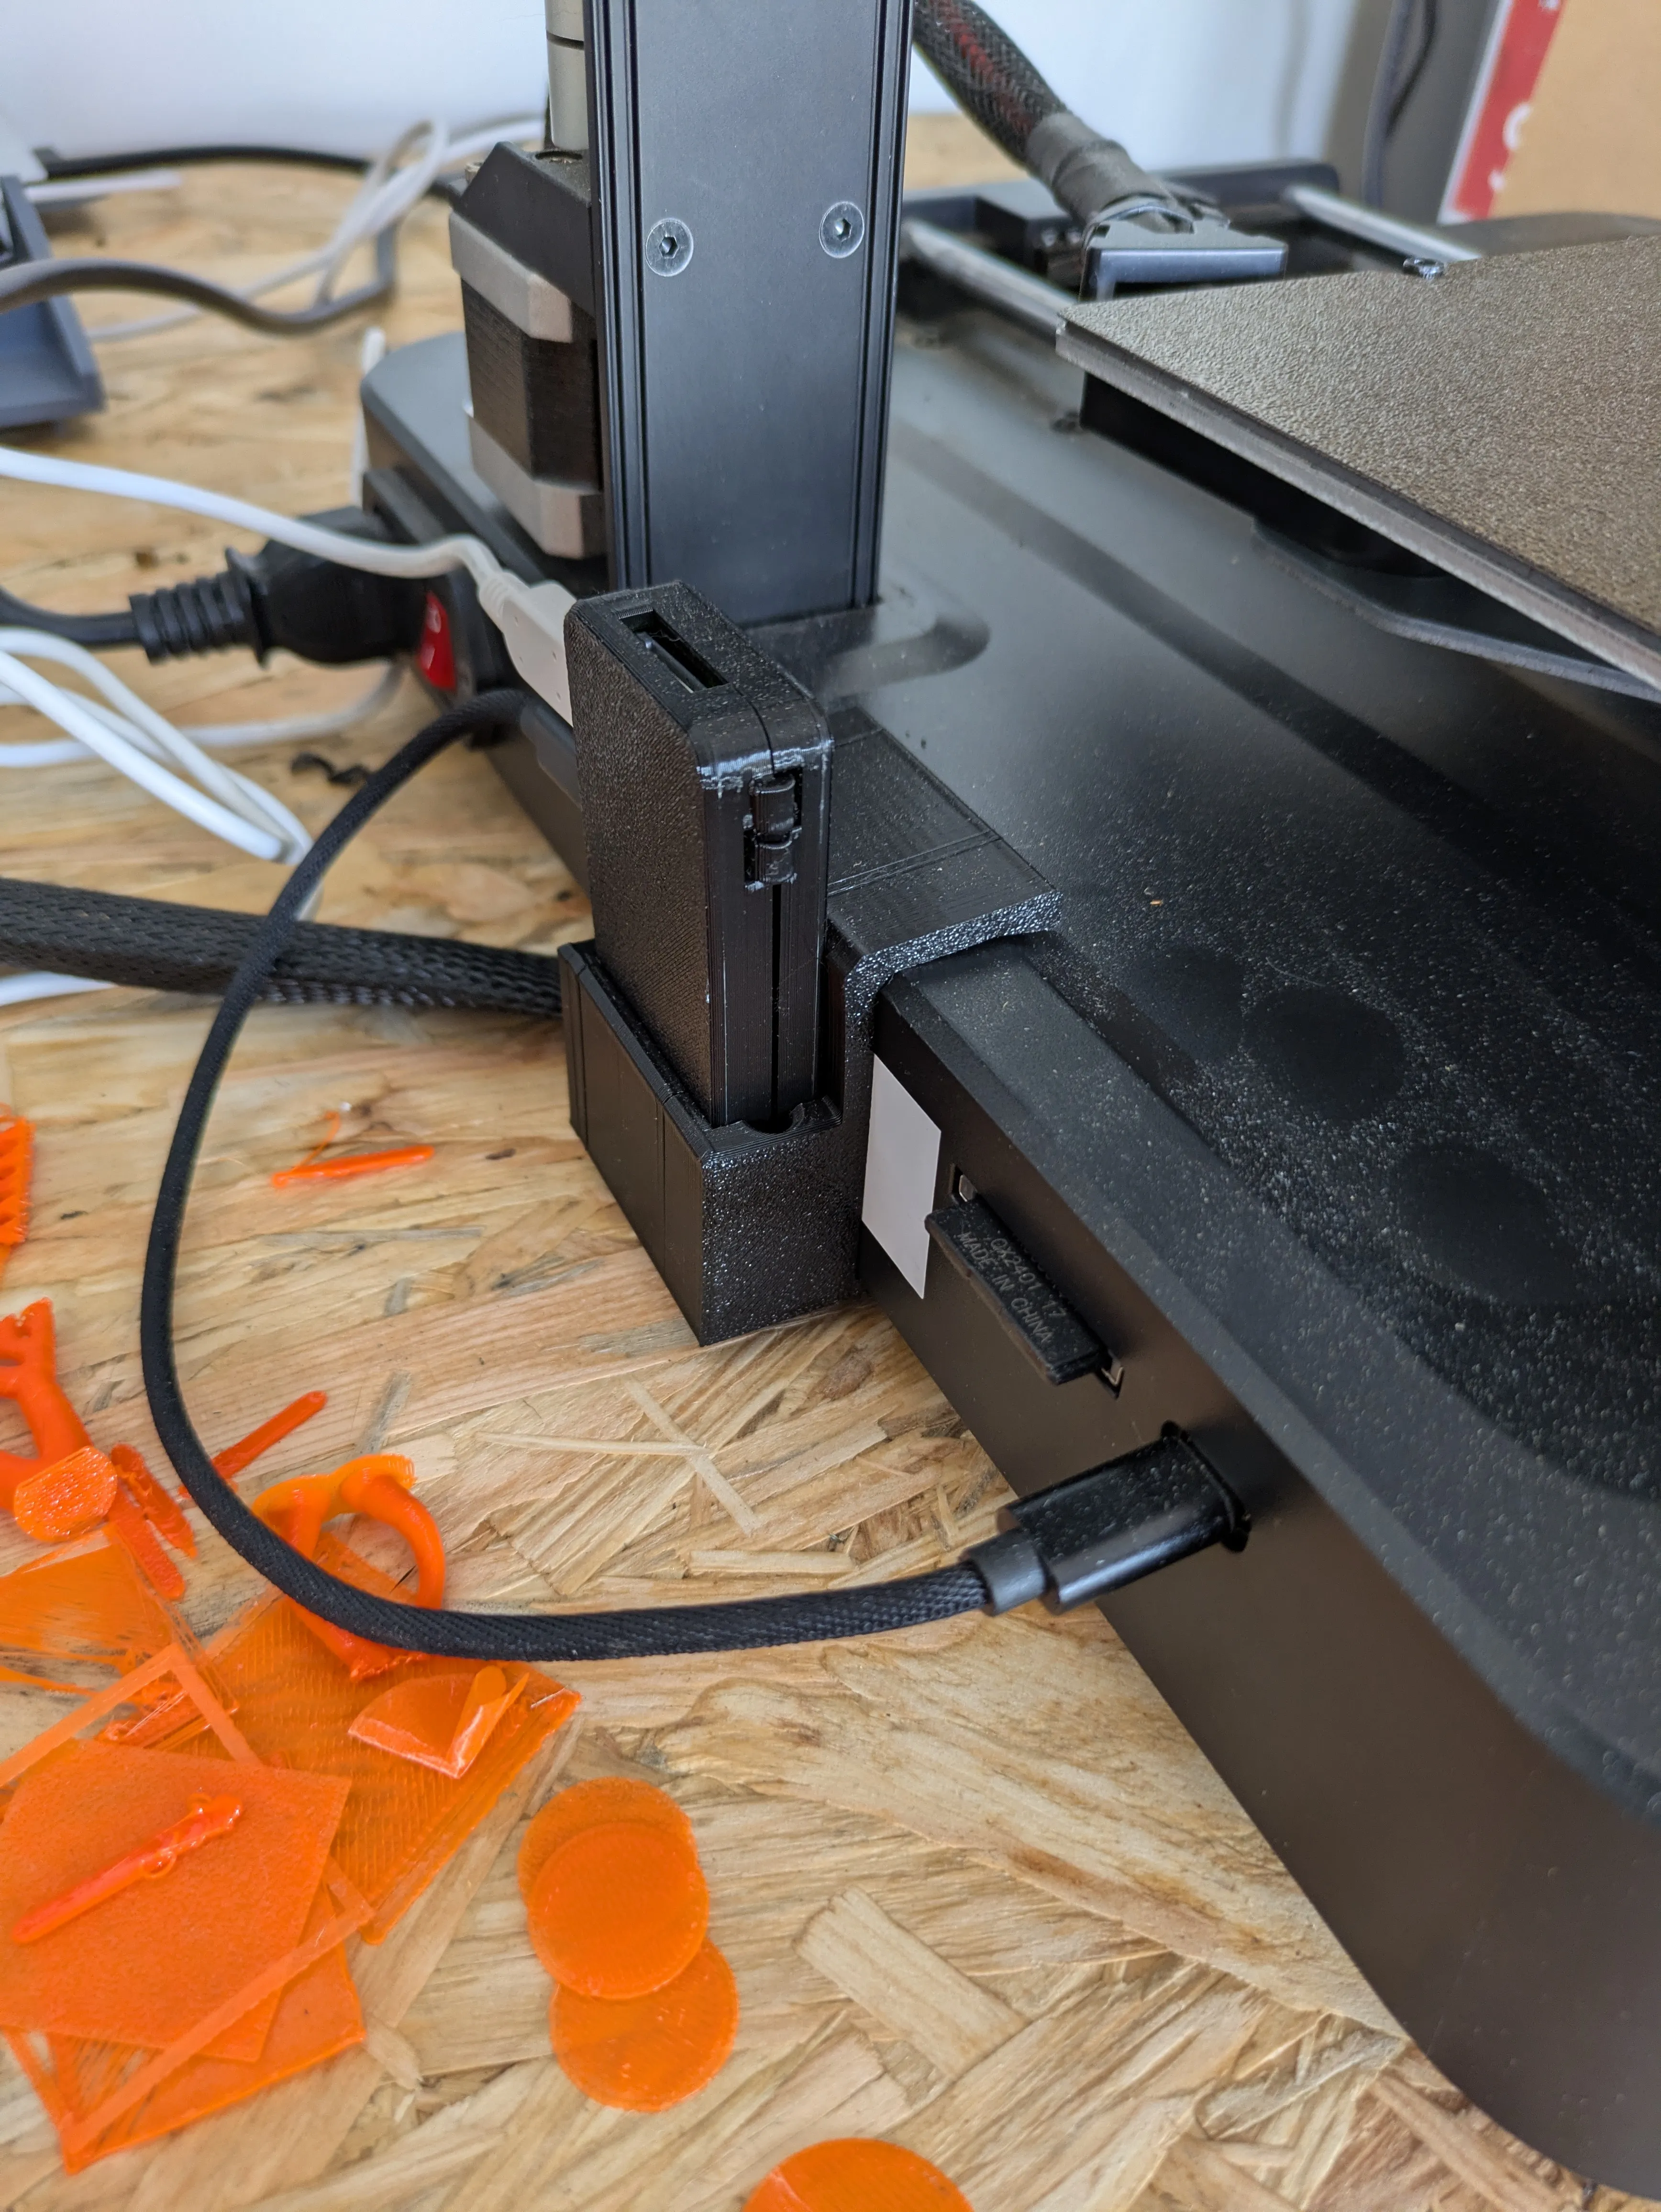
I decided to print a case and a mount for the Raspberry Pi to attach it to the printer, this is not necessary but is a visual improvmenet that also keeps things tidy.
Final Thoughts
Installing Klipper on your 3D Printer can transform a capable entry-level printer into a high-performance, highly tunable machine. While setup requires a bit of care and research, the payoff in print quality, speed, and control is substantial.
For makers, educators, and printing enthusiasts looking to push their hardware further, Klipper is well worth the upgrade.