Why Build a Home Server in a Cloud-First World?
Cloud computing is everywhere. It’s fast, convenient, and generally affordable. So why would anyone bother building their own server to store data and files?
For me, the answer came down to a few key reasons:
- Backing up and syncing across ecosystems (Apple and Google Photos in one place)
- Data ownership and control — how secure is the platform you’re trusting?
- Access files from any device — the biggest selling point of cloud storage
- Learning and hands-on experience building and maintaining computers
- Endless possibilities beyond basic storage: VMs, Home Assistant, Pi-hole, Docker, and more
With those goals in mind, I decided to build my own NAS (Network Attached Storage).
Project Requirements
Before choosing hardware or software, I defined what I wanted this server to do:
- Plenty of storage for photo backups
- Store personal files accessible from any device
- Enough power to run virtual machines and Docker containers
- RAID for redundancy, plus:
- One separate onsite backup
- One offsite backup over VPN
- A simple and minimal management interface
Choosing the Operating System
I narrowed my OS choices down to:
- Unraid
- Proxmox
- TrueNAS
While all three are solid options, I chose Unraid. The deciding factor was simplicity. I wanted this NAS to be easy to manage, without constantly tweaking or babysitting it. (Unraid did require a one off cost around $80 after the generous trial period.)
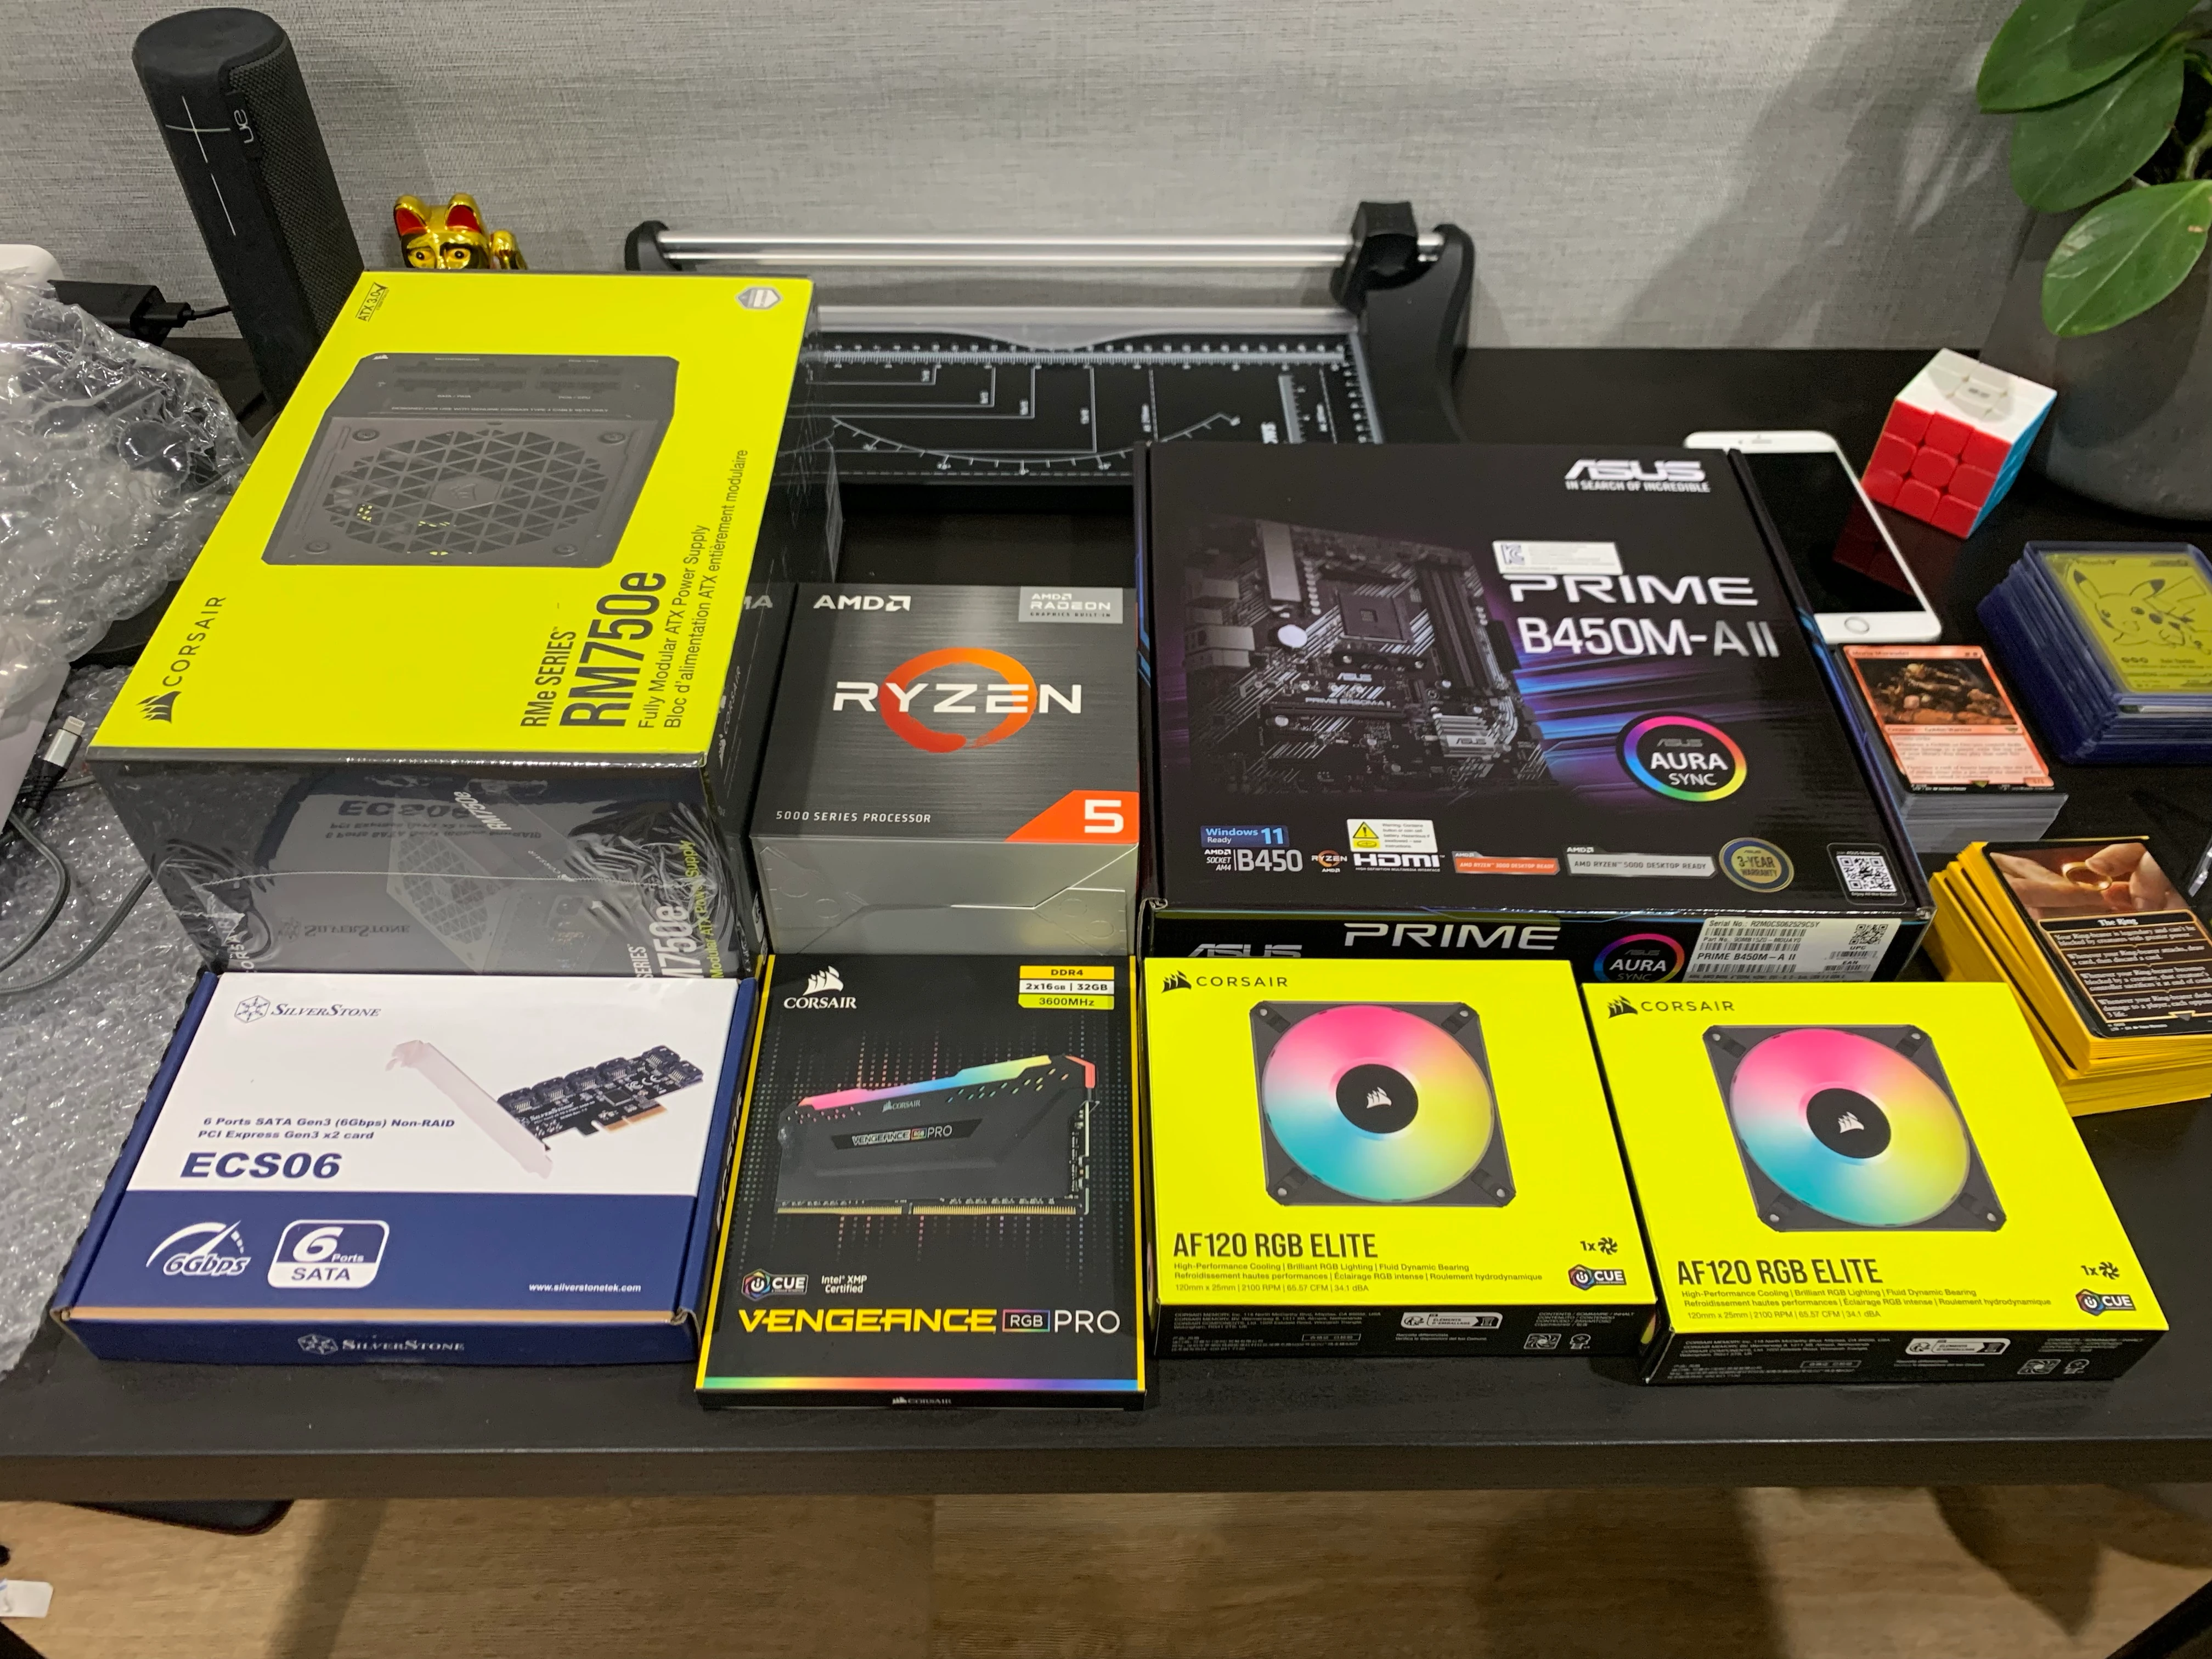
Hardware Parts List
Here’s the hardware I used for the build:
| Component | Price (AUD) |
|---|---|
| AMD Ryzen 5 5600G CPU | $199 |
| Asus Prime B450M-A II Motherboard | $119 |
| Corsair Vengeance RGB PRO 16GB RAM (spare) | ~$100 |
| Be Quiet! Dark Rock TF2 CPU Cooler (spare) | ~$120 |
| 650W Non-modular PSU (spare) | ~$70 |
| Fractal Design Node 804 Case | $199 |
| SilverStone ECS06 6-Port PCIe SATA Controller | $105 |
| 8× 2TB Enterprise HDDs (10+ years old) | Free |
Total: ~$900 AUD (excluding storage)
The drives were donated to me instead of being thrown out due to their age — a great way to keep e-waste down and costs low.
Also note this image has some parts that were installed in my Personal PC, the parts from my Personal PC were then repurposed for the NAS.
Assembly Process
Once all the parts arrived, I removed the components from my personal PC that I planned to reuse and got started.
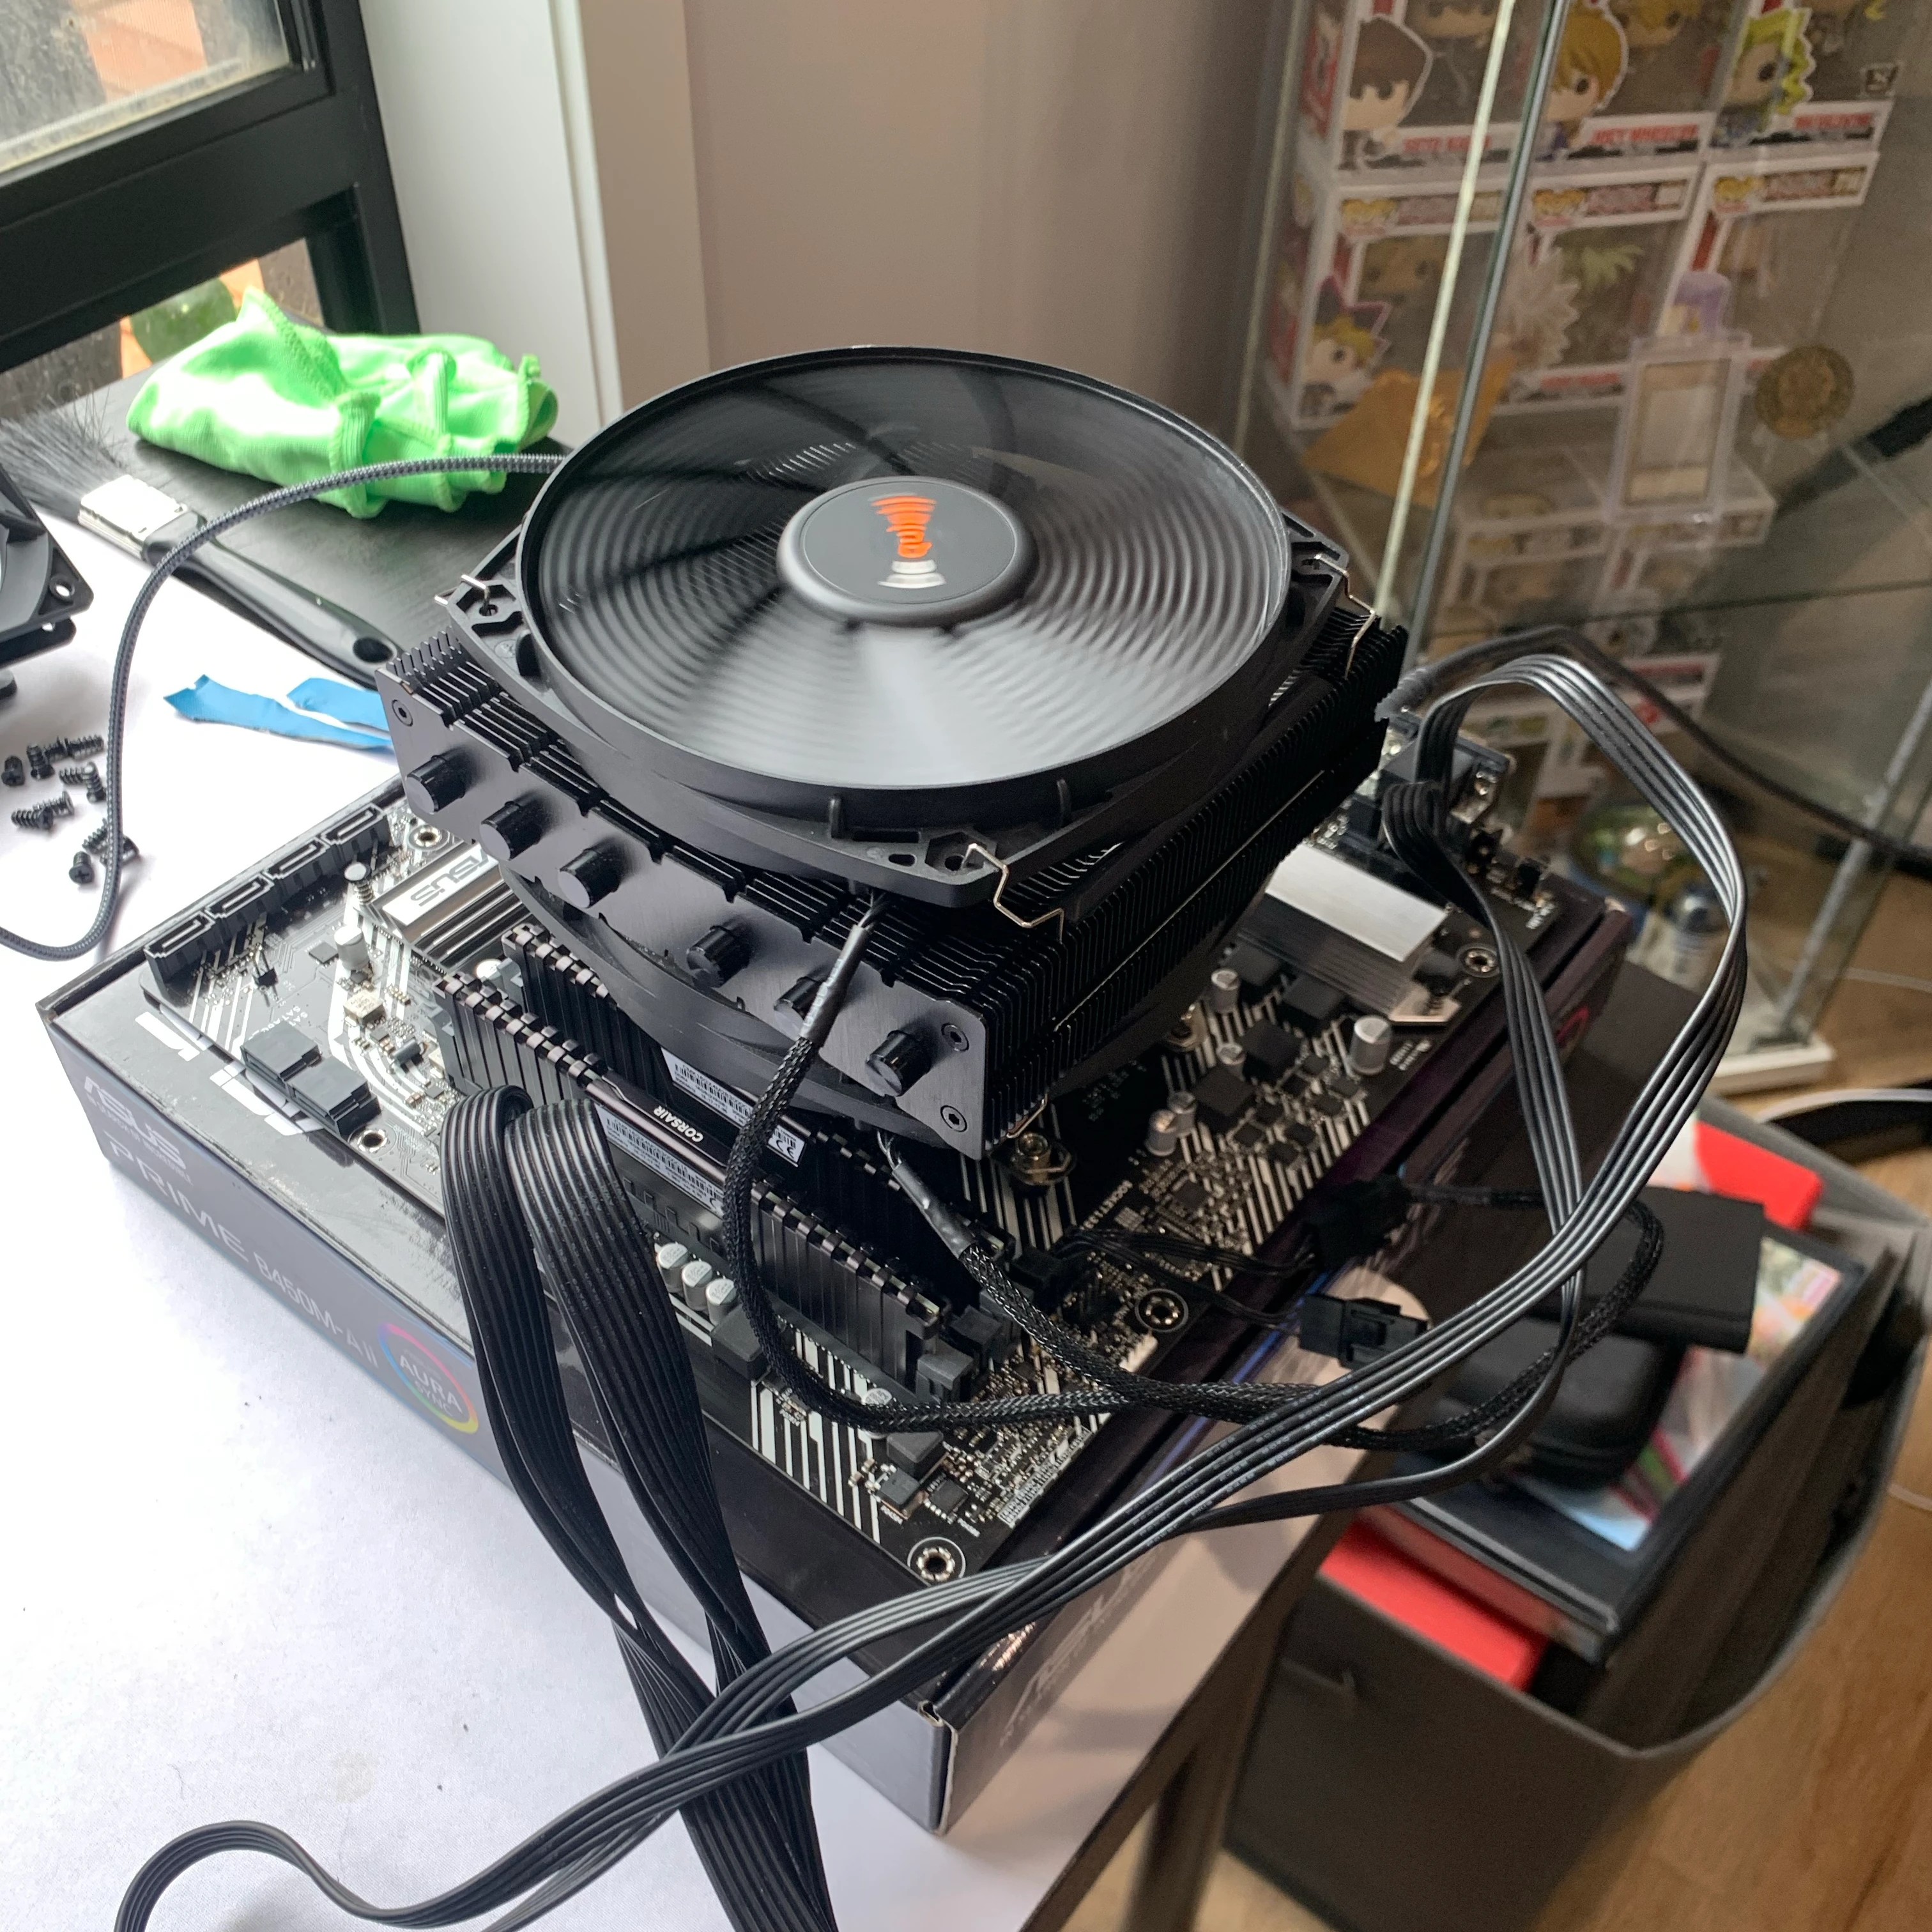
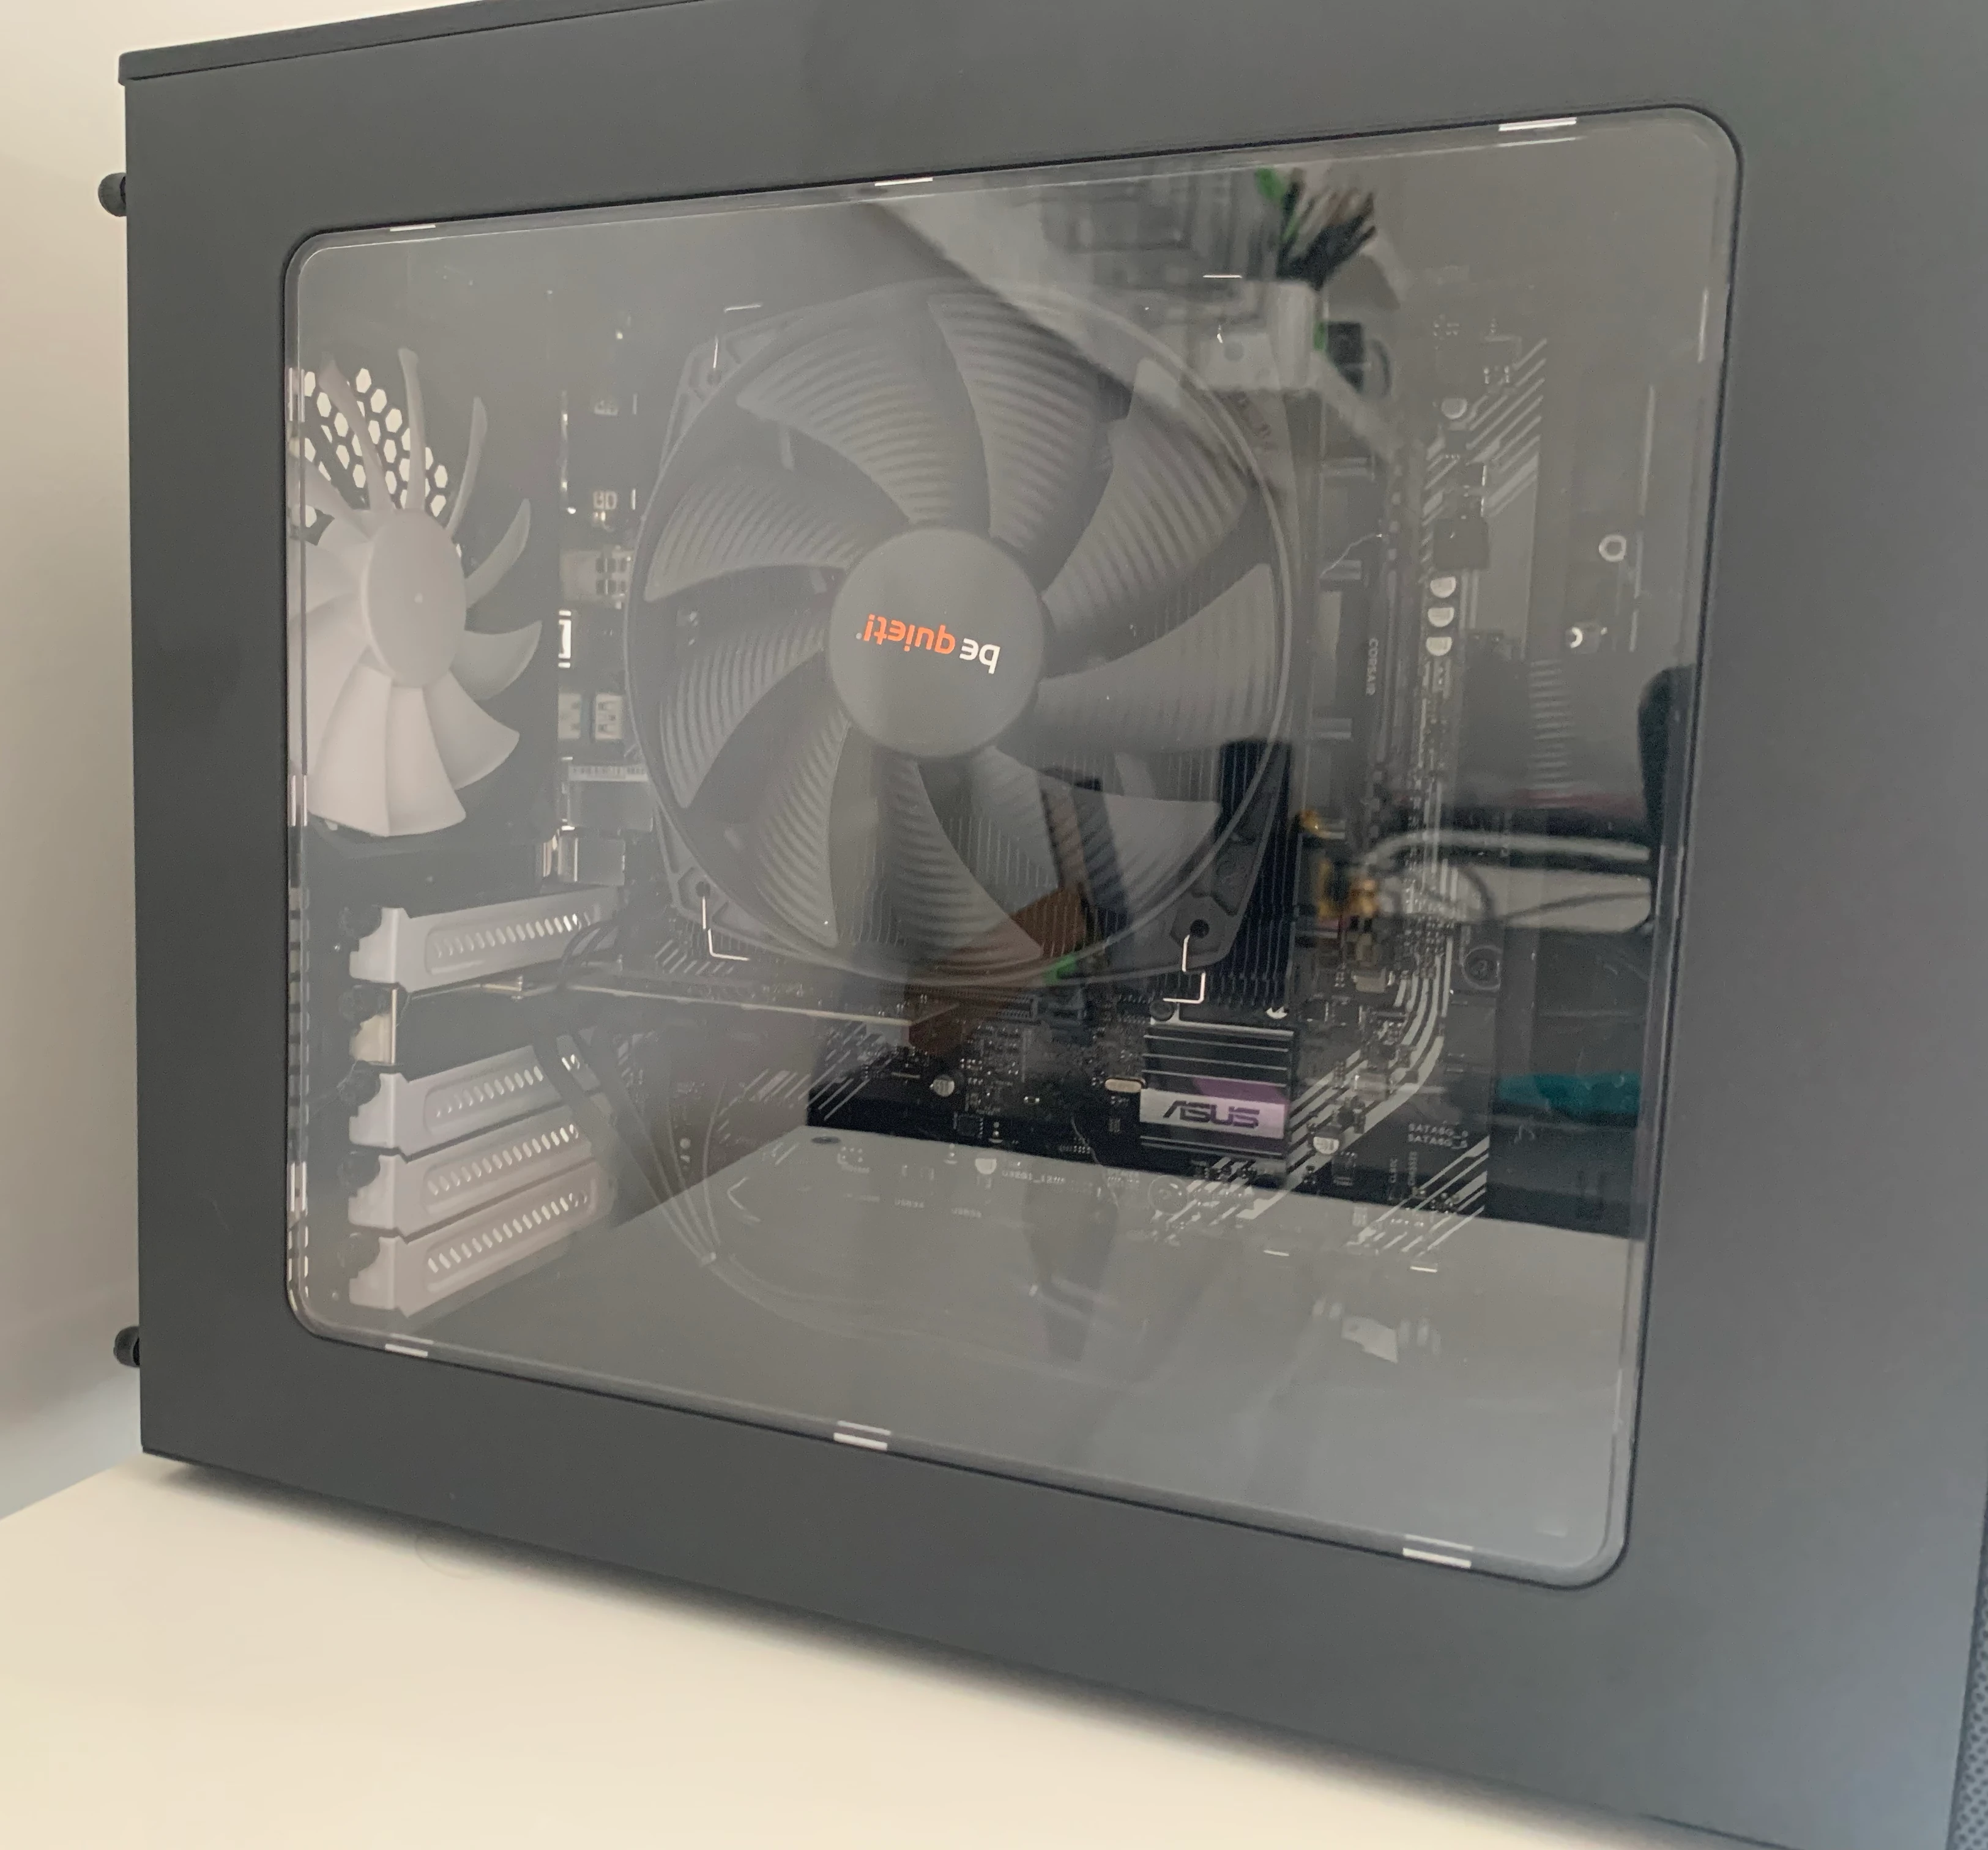
Case & Cooling
The Fractal Node 804 has a great layout with two separate chambers:
- One for components
- One dedicated to storage
It includes three fans out of the box. I removed the drive cages initially to make assembly easier.
Initial Boot Test
Before installing the motherboard into the case, I:
- Installed the CPU
- Mounted the cooler
- Inserted RAM
- Connected power on the bench
It booted into the BIOS on the first try — always a good feeling.

Final Assembly
After installing everything into the case:
- Added extra spare fans for airflow (8 drives generate some extra heat)
- Installed all HDDs vertically in their cages
- Connected SATA and power cables
- Installed the PCIe SATA controller (the motherboard only supports 6 SATA ports)
This setup leaves 4 spare SATA ports for future expansion.
I didn’t include a dedicated GPU to keep power usage low. The Ryzen 5600G’s integrated graphics are more than sufficient for a NAS.
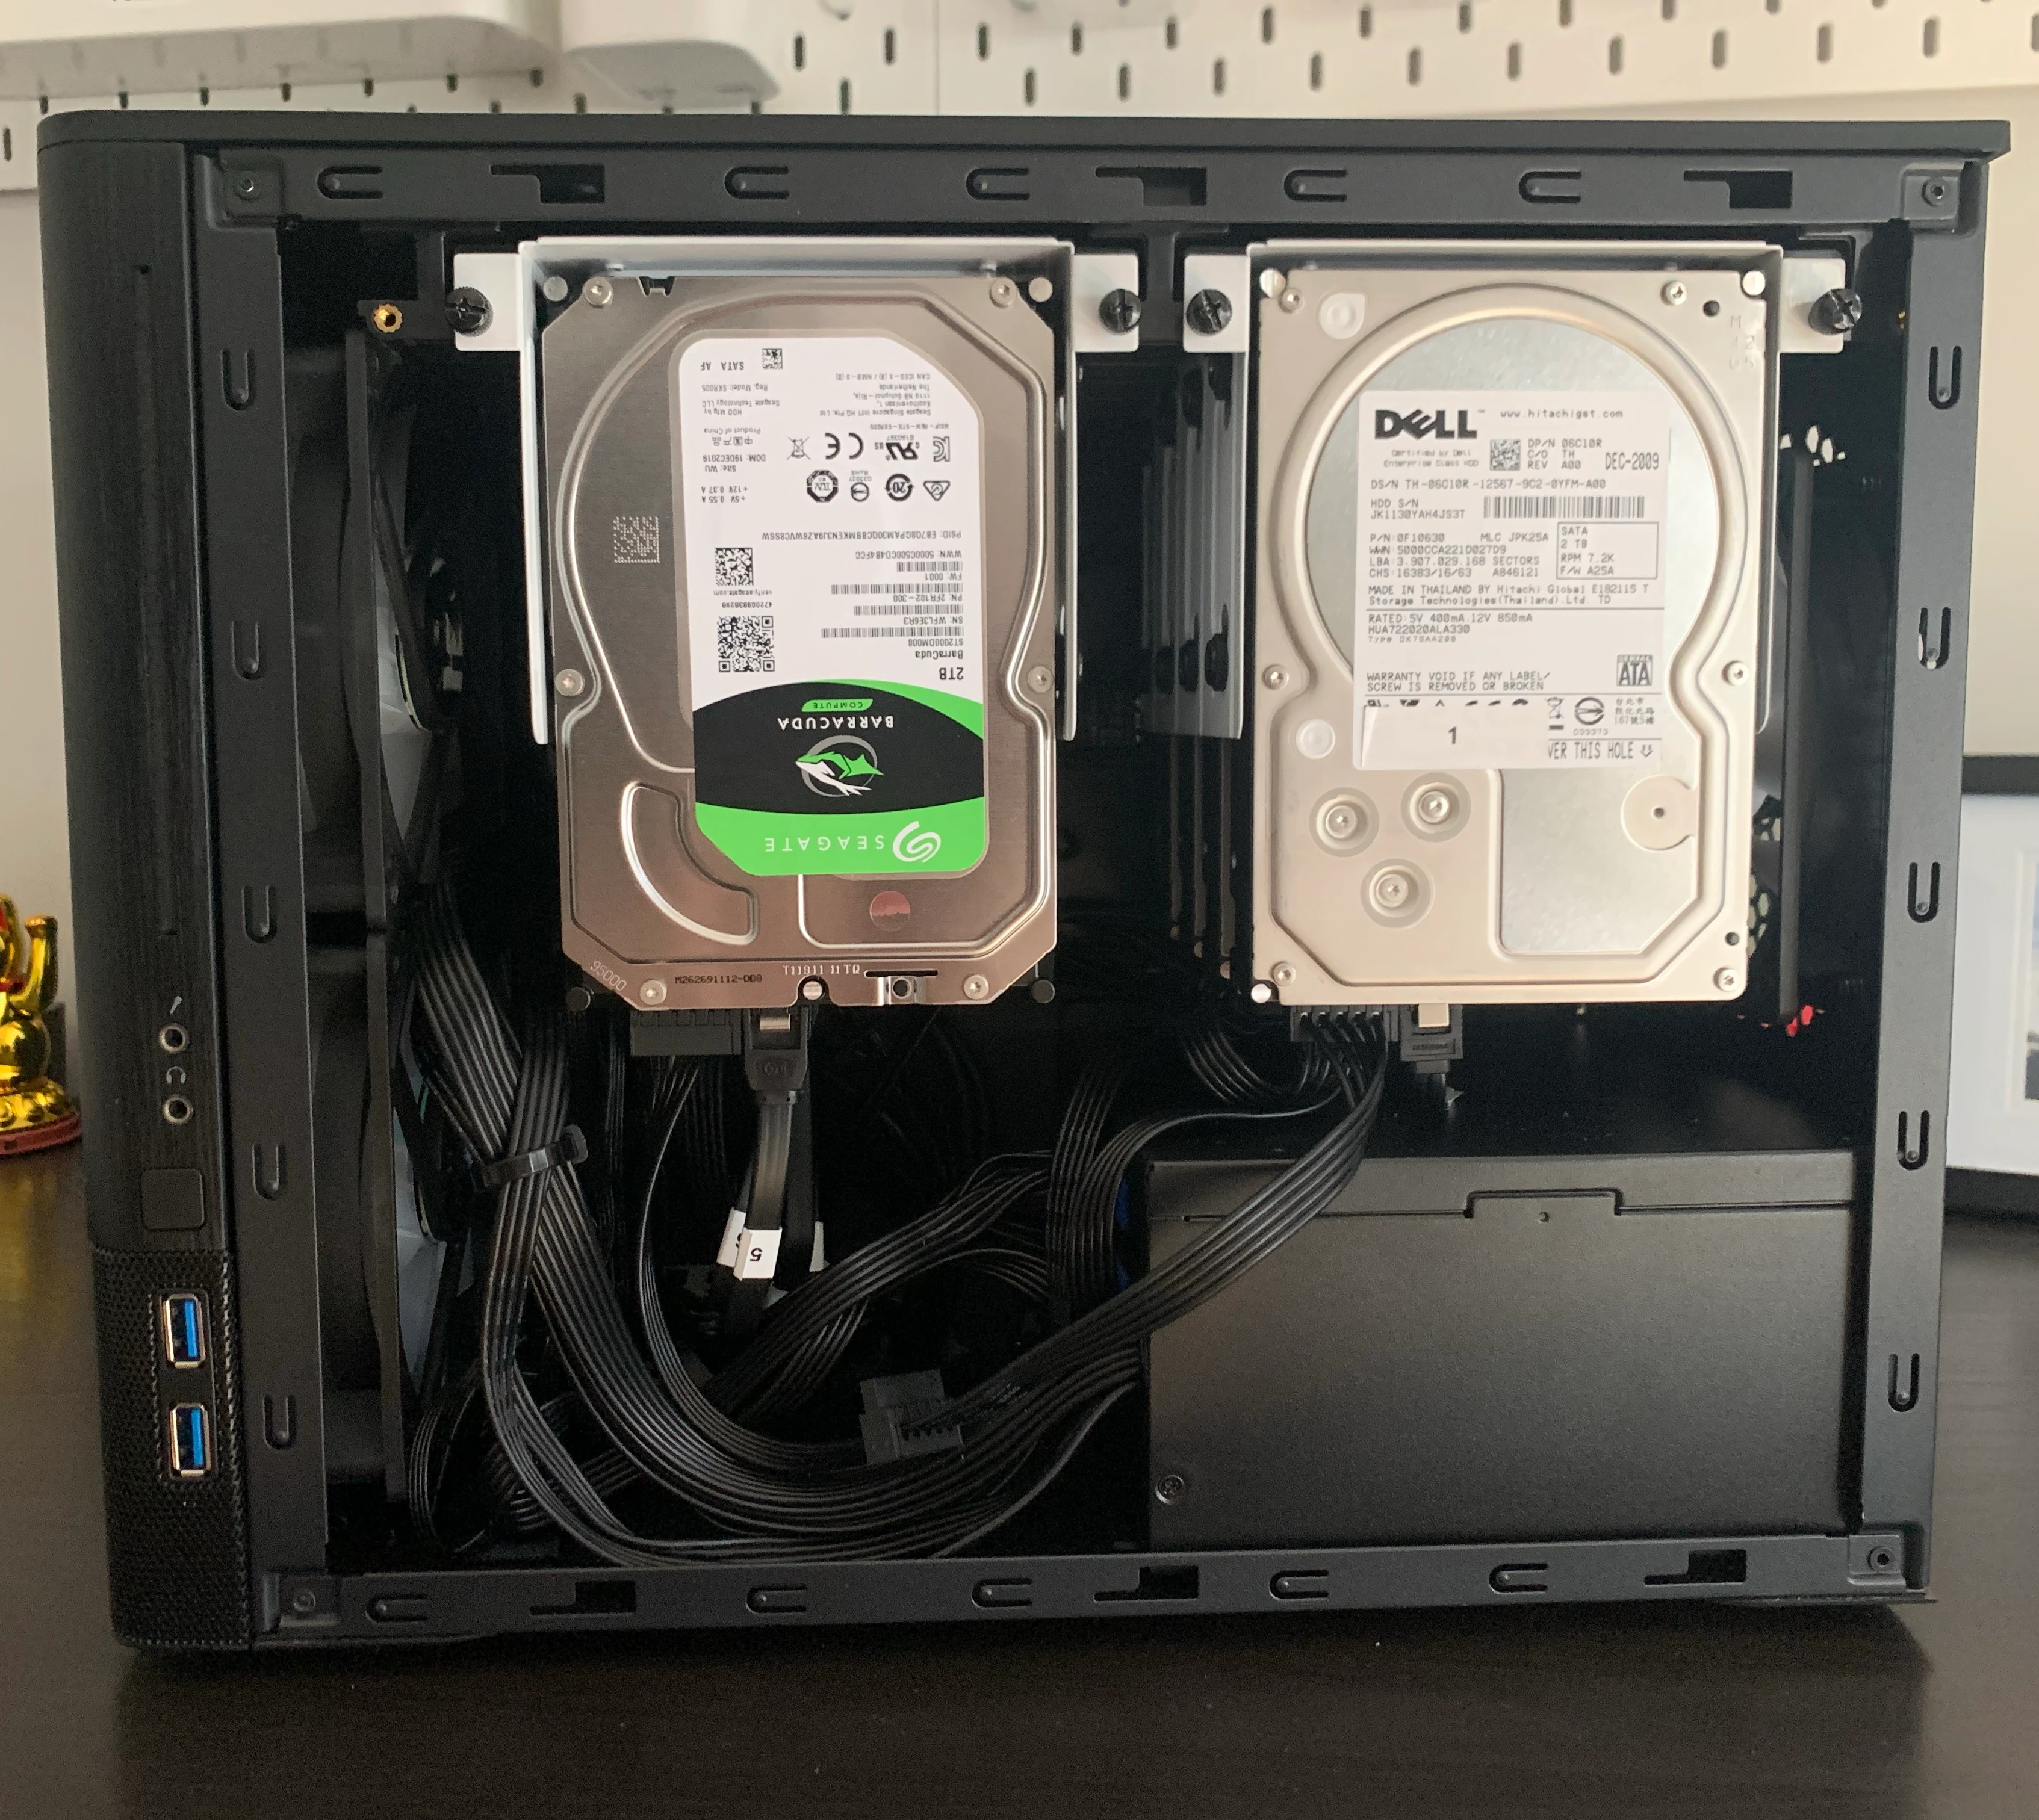
I had to replace one of the Dell drives with a 2TB Seagate I had lying around due to one of the 8 Dell drives failing on boot.
Installing Unraid
Unraid runs entirely from a USB drive, which means all internal storage is available for data.
Installation was simple using the Unraid USB Flash Creator:
- Selected server name
- Configured network settings
- Booted directly into Unraid
I reserved an IP Address on my router for the NAS to ensure accessing the web GUI and file shares would be straightforward.
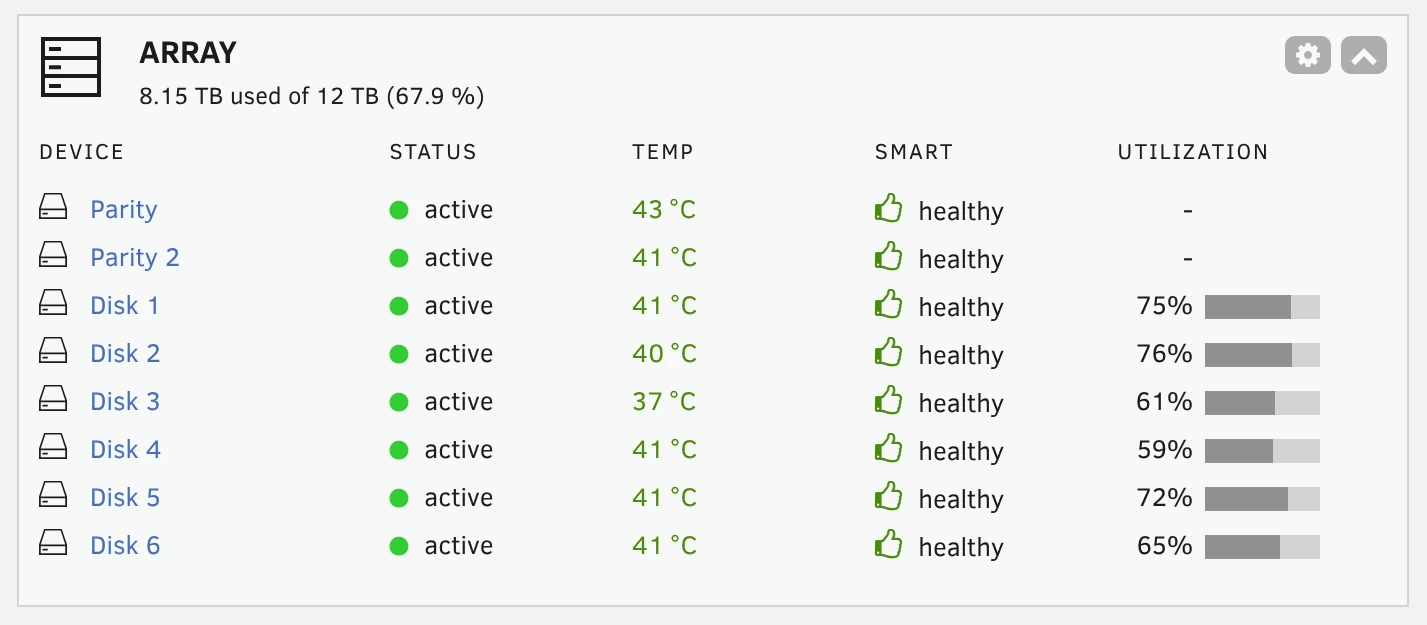
Storage Configuration
I configured the drives using RAID 6, which provides:
- Double distributed parity
- Protection against up to two drive failures
Once the array was up and running, I:
- Created file shares
- Installed plugins for hardware monitoring (CPU temps, drive health, etc.)
Permissions were set on file shares to control access across devices and users. This allowed me to create shares that guests on the network could have access to while securing personal files with user credentials.
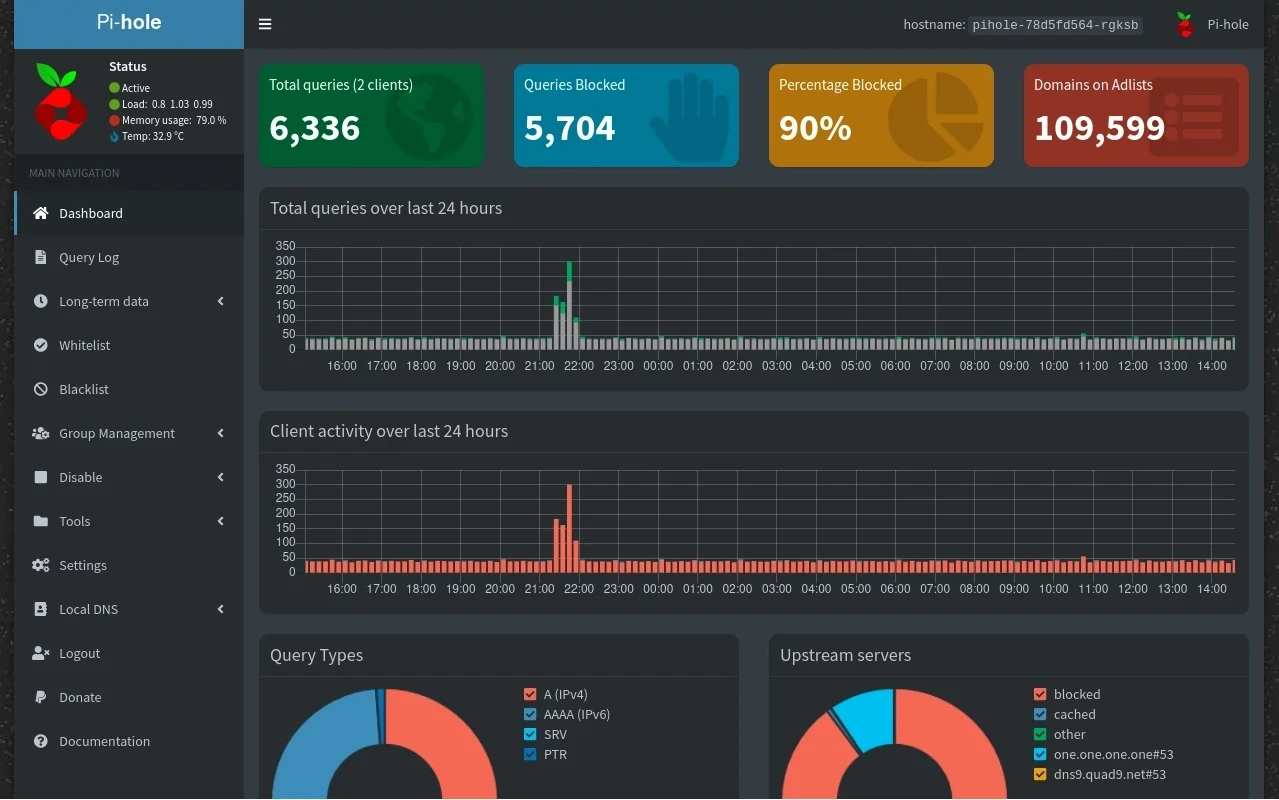
Virtual Machines & Docker
Unraid makes running VMs and containers straightforward.
What I’m Running
- Windows and Linux VMs (work out of the box)
- PhotoPrism
- Central photo backup for both iPhones and Android devices
- Pi-hole
- Network-wide ad blocking
Backup Strategy (The Important Part)
Redundancy isn’t backup — so I built a layered approach.
Onsite Backups
- Weekly Docker container backups (configurations included)
- Full NAS backup using Veeam on a Windows machine
Offsite Backups
- Installed Tailscale for VPN access
- Connected this NAS to another NAS at a different location
- Used a cron job + rsync for nightly incremental backups
Final Thoughts
With this setup:
- Two drives can fail without data loss
- There’s a separate onsite backup
- There’s an automated offsite backup
- Files are accessible anywhere via Tailscale VPN
- Multiple ecosystems (Apple & Android) sync seamlessly without subcriptions
Overall, this feels like a robust, flexible, and future-proof home server. It offers far more control and capability than a typical cloud storage provider — and I learned a lot in the process.
If you’re comfortable with hardware and want full ownership of your data, building a home server is absolutely worth considering.
Updates
-
After a month of use I decided to add a 1TB ssd cache drive. This allows file transfers to be done faster via the ssd and then have the files moved from the ssd cache drive to the hdds overnight.
-
I added a notification setup for drive issues, backup failures etc via the Pushover app to get notifications directly to my phone if something goes wrong. This has made maintanence even easier as I don’t have to regularly check the server.
-
After 2 years of operation everything is still running like a dream, no drives have needed replacing and energy consumption has been around 2.2kWh per day. I have cancelled all cloud storage subscriptions now and have not looked back.
-
Losing any data on this NAS would be detrimental therefore it is not ideal for homelab activites such as cybersecurity and networking labs. My next build project will be a Homelab running Proxmox to facilitate cybersecurity labs, recreating vulnerabilites, exploring the effects of malware on systems and building advanced networking configurations.